Dell Inspiron 6000 Screen Replacement

Introduction
Replacing the screen takes some time and effort, but requires few tools.
Step 1
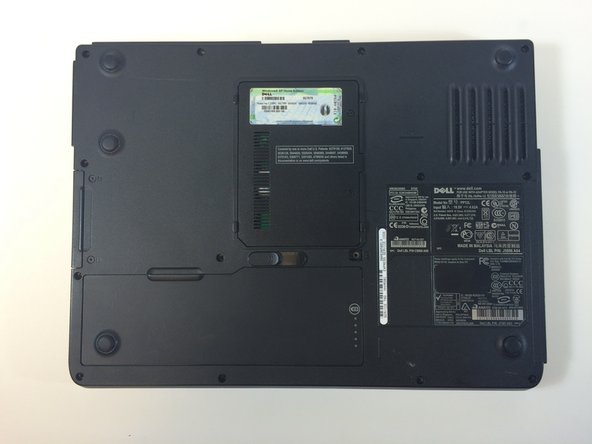
Battery
- Flip the laptop over, bottom-side up.
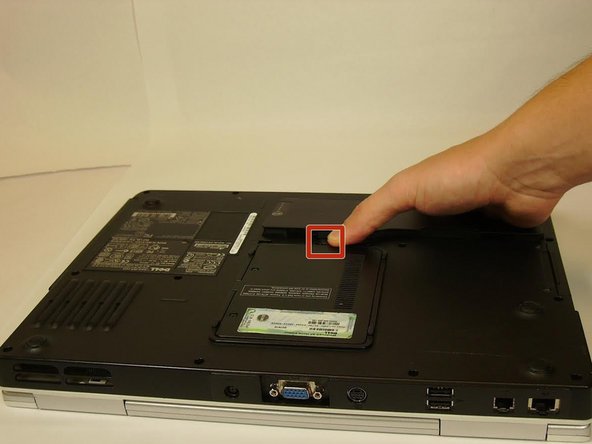
- Push the switch next to the battery.
- At the same time, lift the battery away from the laptop.
Step 3 Keyboard
- Place the laptop on flat surface.
- Carefully open the laptop at far as it will go so that the back of screen is touching the flat surface.
- Carefully take a spudger and separate part of the cover at the red circle.


Step 4
- Remove two 4 mm Philips #00 screws.

Step 5
- Gently lift the keyboard away from the laptop without harming the cord that is located at the bottom of the keyboard.

Step 6
- Gently pull the blue tab up until it comes away from computer.

Step 7 Screen
- Remove one 4mm Philips #00 screw to completely disengage blue tab.

Step 8
- Pull and disconnect the blue tab.

Step 9
- Disconnect the black and white wires.

Step 10
- Remove four 4mm Philips #00 screws at the hinges for the screen.

Step 11
- Separate the top panel of the laptop from the bottom panel.

Step 12
- Use the plastic opening tools to remove the six rubber screw covers in the corners.
- Remove six 4 mm #00 Philips screws located in the corners.


Step 13
- Insert the plastic opening tools between the screen holders.
- Go completely around the screen, separating the screen holders with the plastic opening tools.


Step 14
- Remove 12 4mm #00 Philips screws at the perimeter of the screen.


Step 15
- Gently lift the screen from the holder.


0 komentar:
Posting Komentar